Introduction to Color Enhancement
TimeLapsed App provides powerful tools to enhance the visual impact of your timelapse sequences. Whether you're looking for vibrant color pop, subtle tonal adjustments, or artistic black and white conversions, the app's color tools can dramatically improve your final timelapse.
This guide explores the various color settings, filters, and special modes available in TimeLapsed App, helping you understand how each adjustment affects your footage and when to use specific tools for different shooting conditions and creative goals.
Why Color Enhancement Matters
- Visual Impact: Proper color enhancement creates more engaging and professional-looking timelapses
- Mood Setting: Color temperature and saturation adjustments help convey specific moods or emotions
- Clarity and Detail: Contrast and sharpness controls reveal details that might otherwise be lost
- Consistency: Helps maintain visual consistency across changing lighting conditions during long timelapses
Basic Color Adjustments
TimeLapsed App offers a range of basic color adjustments that provide the foundation for enhancing your timelapses. These controls are accessible through the color adjustment panel and give you fine-tuned control over the fundamental aspects of your image.
How to Access Color Controls
- 1.1Open TimeLapsed App and enter the timelapse mode
- 2.2Tap on the settings icon in the control panel
- 3.3Navigate to the "Color" tab
Brightness & Exposure
The brightness and exposure controls allow you to adjust the overall luminance of your timelapse. These settings are particularly useful for correcting underexposed footage or toning down overexposed areas.
Best Practices:
- Adjust exposure before other color settings
- Use subtle increases for low-light situations
- Be careful not to overexpose highlights
Contrast & Clarity
Contrast adjusts the difference between the darkest and brightest parts of your timelapse. Clarity enhances mid-tone contrast, which can make details pop and add definition to your footage.
Best Practices:
- Increase contrast for moody, dramatic scenes
- Add clarity to architecture and landscape timelapses
- Reduce clarity slightly for skin tones in people timelapses
Saturation & Vibrance
Saturation increases the intensity of all colors in your timelapse, while Vibrance intelligently boosts less saturated colors while protecting already vibrant areas and skin tones.
Best Practices:
- Use Vibrance for a more natural color enhancement
- Apply Saturation selectively for specific color pop effects
- Reduce saturation slightly for a cinematic look
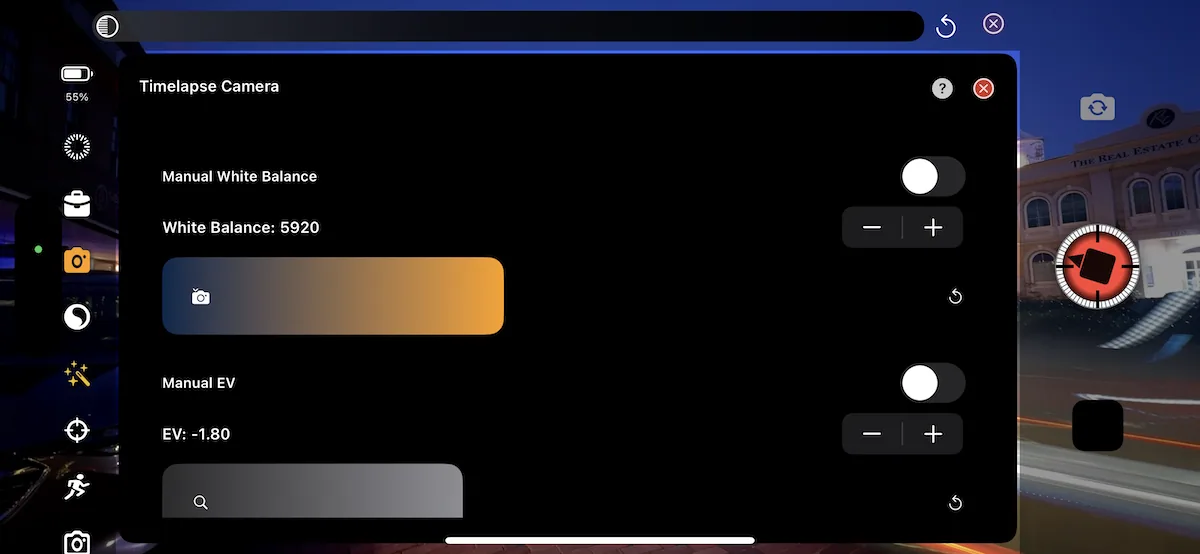
White Balance & Temperature
White balance adjusts the overall color tone of your timelapse to compensate for different lighting conditions. Temperature controls shift colors between cool (blue) and warm (orange) tones.
Best Practices:
- Use Auto White Balance for most situations
- Warm up sunrise/sunset timelapses for a golden hour effect
- Cool down night scenes for a moonlit blue appearance
Creative Color Filters
TimeLapsed App includes a variety of built-in filters that can instantly transform the look and feel of your timelapses. These pre-configured color adjustments range from subtle enhancements to dramatic stylistic effects.
Vivid
Enhances color saturation and contrast for vibrant, punchy timelapses. Perfect for landscape and cityscape scenes.
Cinematic
Creates a film-like look with balanced contrast, slightly reduced saturation, and a subtle color grade.
Noir
High-contrast black and white with dramatic shadows for a classic film noir aesthetic.
Warm
Adds golden tones and enhances orange and yellow hues, ideal for sunrise, sunset, or autumn scenes.
Cool
Emphasizes blue and teal tones for a crisp, cold appearance. Great for winter scenes or night timelapses.
Vintage
Simulates the look of classic film with slightly faded colors, warm highlights, and a touch of grain.
Pro Tip: Custom Filter Adjustments
After applying a filter, you can still make additional manual adjustments to fine-tune the effect. This allows you to use filters as starting points for your own custom looks.
Try combining a filter with subtle adjustments to exposure, contrast, or white balance to create a unique style that perfectly matches your creative vision.
Advanced Color Techniques
Beyond basic adjustments and filters, TimeLapsed App offers several advanced color techniques that can take your timelapses to the next level. These features give you precise control over specific aspects of your footage.
Selective Color Adjustment
TimeLapsed App allows you to adjust specific color ranges independently. This powerful feature lets you enhance or mute particular colors without affecting the entire image.
How to use:
- 1.Access the Color panel in settings
- 2.Tap on "Selective Color"
- 3.Choose a color range (Red, Green, Blue, Cyan, Magenta, Yellow)
- 4.Adjust the Hue, Saturation, and Luminance for that specific color
Example: Enhance a sunset by boosting oranges and reds while slightly reducing blues, or make foliage pop by increasing the saturation of greens.
HDR Enhancement
The HDR enhancement feature helps recover details in both highlights and shadows, creating a more balanced exposure across your timelapse. This is particularly useful for scenes with high contrast.
When to use:
- Sunrise and sunset timelapses with bright skies and dark foregrounds
- Indoor scenes with bright windows
- Cityscape night timelapses with mixed lighting
Pro tip: Use HDR enhancement subtly—excessive HDR can create an unnatural look. Aim for a balanced image where details are visible in both highlights and shadows.
Color Grading with Curves
The Curves tool is one of the most powerful color adjustment tools, allowing precise control over brightness, contrast, and color balance across different tonal ranges.
Key capabilities:
- Adjust the master RGB curve for overall contrast
- Modify individual Red, Green, and Blue channels for color grading
- Create custom S-curves for cinematic contrast
Try the popular "Orange and Teal" look: Slightly boost blues in the shadows and add warmth (orange/yellow) to the highlights via the RGB curves.
Day to Night Transition Enhancement
For timelapses that span from daylight into evening, TimeLapsed App offers specialized tools to manage the dramatic lighting changes.
Features include:
- Auto exposure ramping to smooth transitions
- White balance stabilization to maintain consistent color
- Shadow recovery to preserve details as light fades
For the best day-to-night transitions, start recording at least 30 minutes before sunset and continue at least 20 minutes after the sun disappears.
Related Guides
Tilt-Shift Guide
Learn how to create miniature-like effects with the tilt-shift feature.
Frame Blending Guide
Discover how to create smooth, professional timelapses with frame blending.
All TimeLapsed Guides
Explore all available guides to master the TimeLapsed app features.