01
Camera and exposure
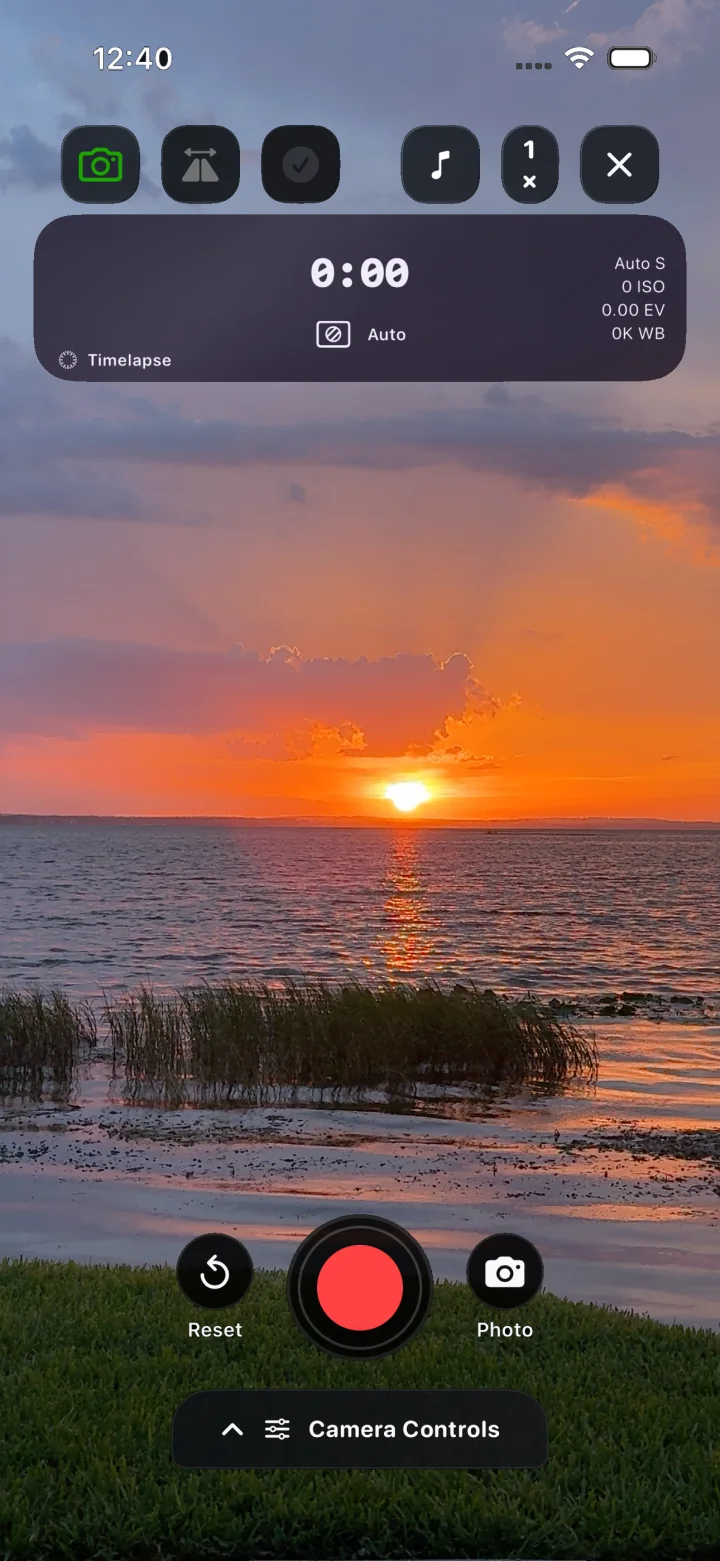
Select the lens, then control shutter, ISO, exposure compensation, white balance, focus, stabilization, and rotation lock.
TimeLapsed 2.0
Professional timelapse camera for iPhone
Manual exposure, repeatable profiles, live frame blending, image-sequence output, and Camera Actions that change settings while the timelapse is running. Field planning and remote operation stay connected to the same capture workflow.
Exposure
Shutter · ISO · EV · white balance · focus
Cadence
Interval · playback speed · frame count
Processing
Frame blending · trails · color
Output
Timelapse video · image sequence
01 · The camera
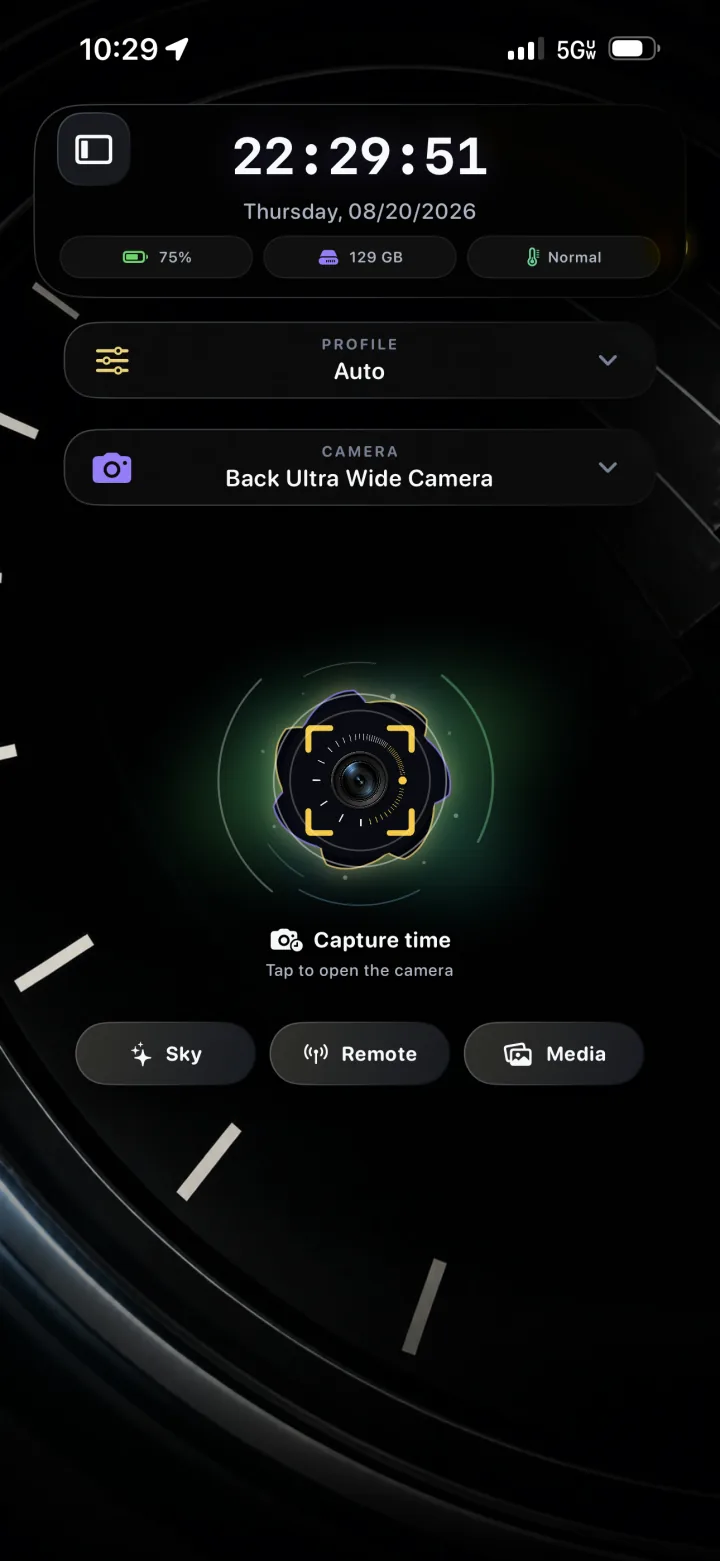
TimeLapsed does not reduce the shot to an interval and a record button. Exposure, cadence, framing, live processing, color, and output are parts of one camera state. Profiles save that state; Camera Actions can change it during the recording.
01
Select the lens, then control shutter, ISO, exposure compensation, white balance, focus, stabilization, and rotation lock.
02
Set the interval and playback speed, monitor the running frame count, and keep the source frames as an image sequence.
03
Build light trails as frames arrive with blending, trail history, blend modes, masks, thresholds, glow, comet, restore, and erase controls.
04
Use framing guides, crosshairs, focus rings, zoom readout, a configurable status display, and an optional second camera.
05
Load a complete setup for the shot, change any control, and save a copy that can be used again without rebuilding the camera.
06
Apply a LUT or tune color, highlights, shadows, contrast, temperature, tint, and sharpening before the frame reaches the recording.
02 · Camera Actions
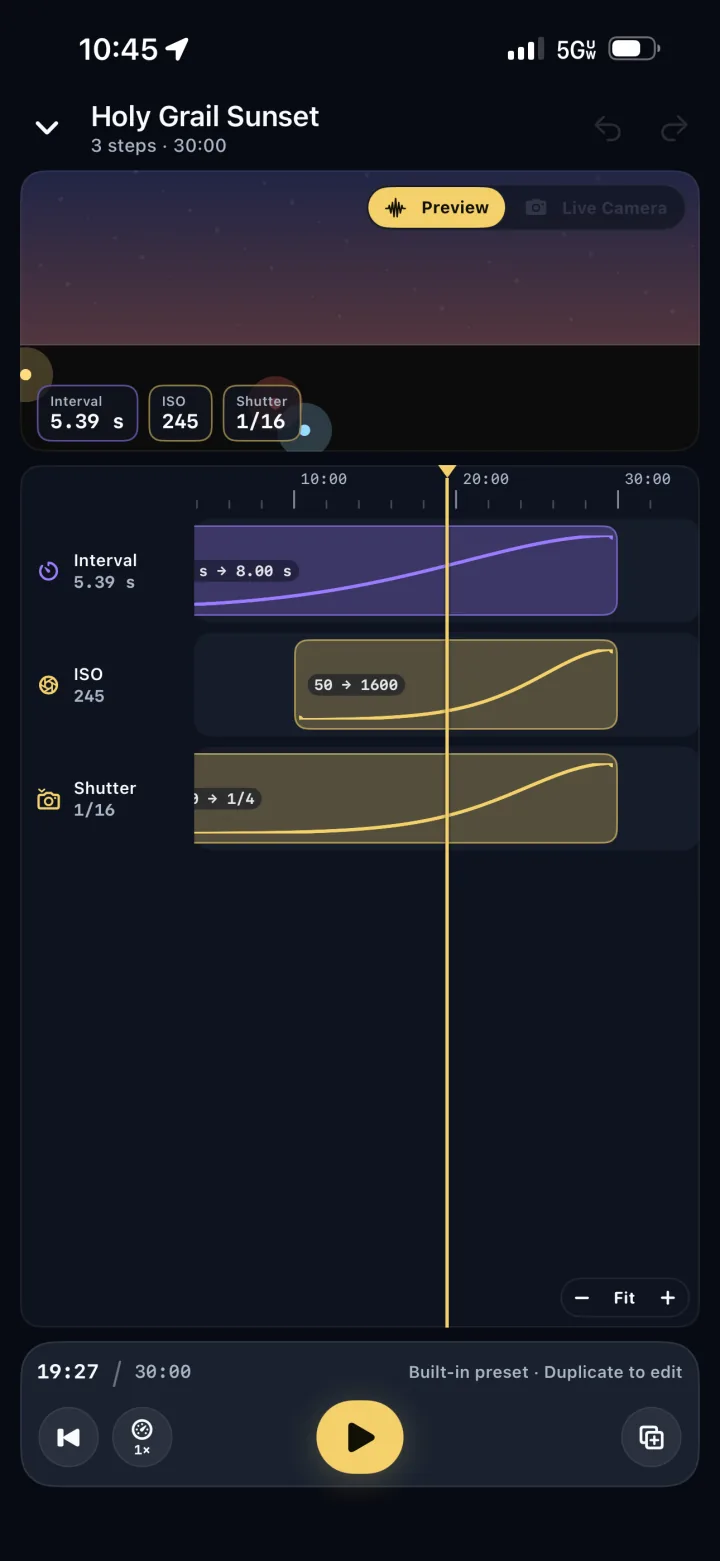
A Camera Action is a timed instruction to the camera. It can move a control between two values, set an exact value at a chosen moment, or trigger an event. The timeline shows the resulting camera state before the recording is armed.
Move a control gradually from its start value to its end value across a defined part of the recording.
Change a control to an exact value at a specific moment without a transition.
Trigger a capture event at a point on the timeline.
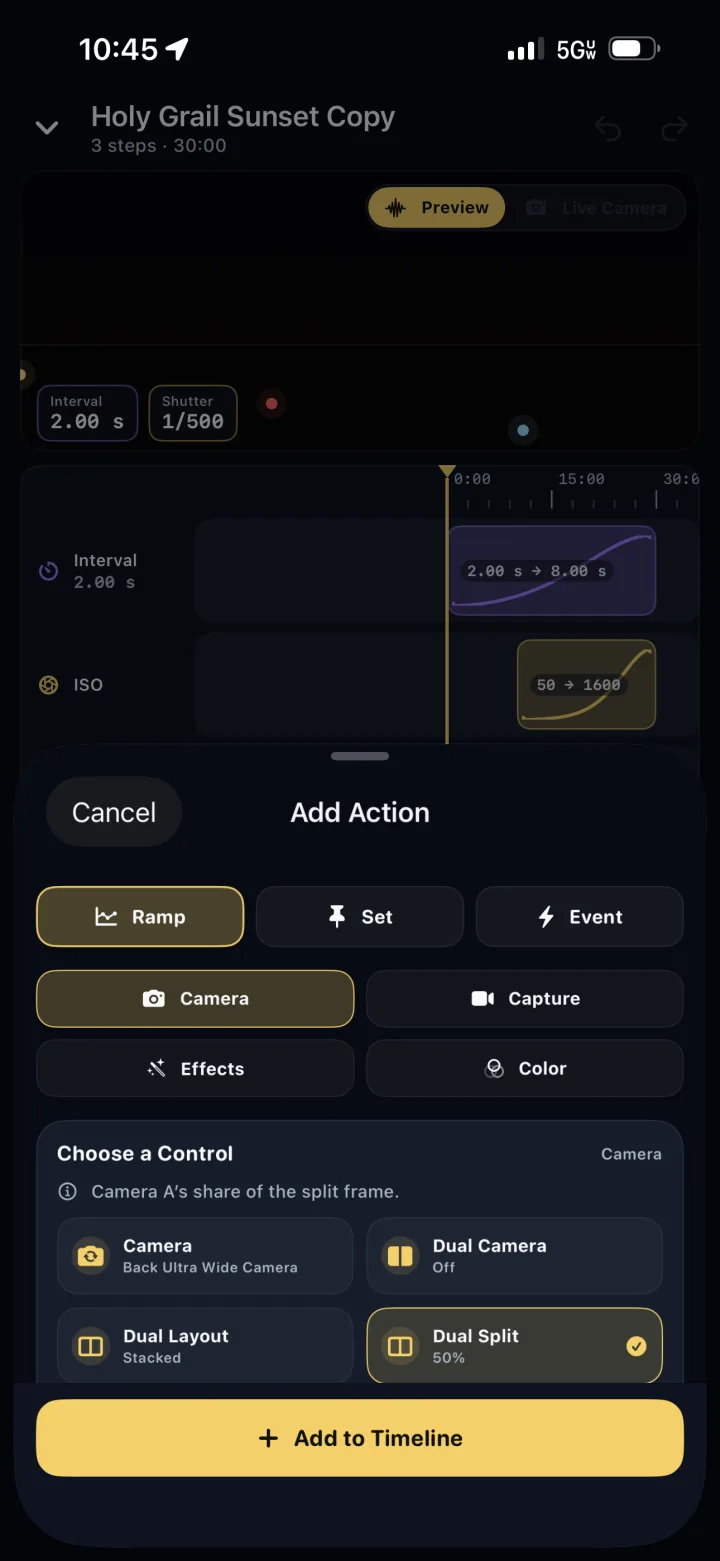
Camera, Capture, Effects, and Color controls can be placed on the same timeline.
Move the playhead to see the interval, shutter, ISO, and other resolved values at that moment.
Choose the automation from the camera, review what will change, then run it or arm it for capture.
Holy Grail Sunset ramps interval, ISO, and shutter together; built-in automations can be duplicated and edited.
03 · Frame processing
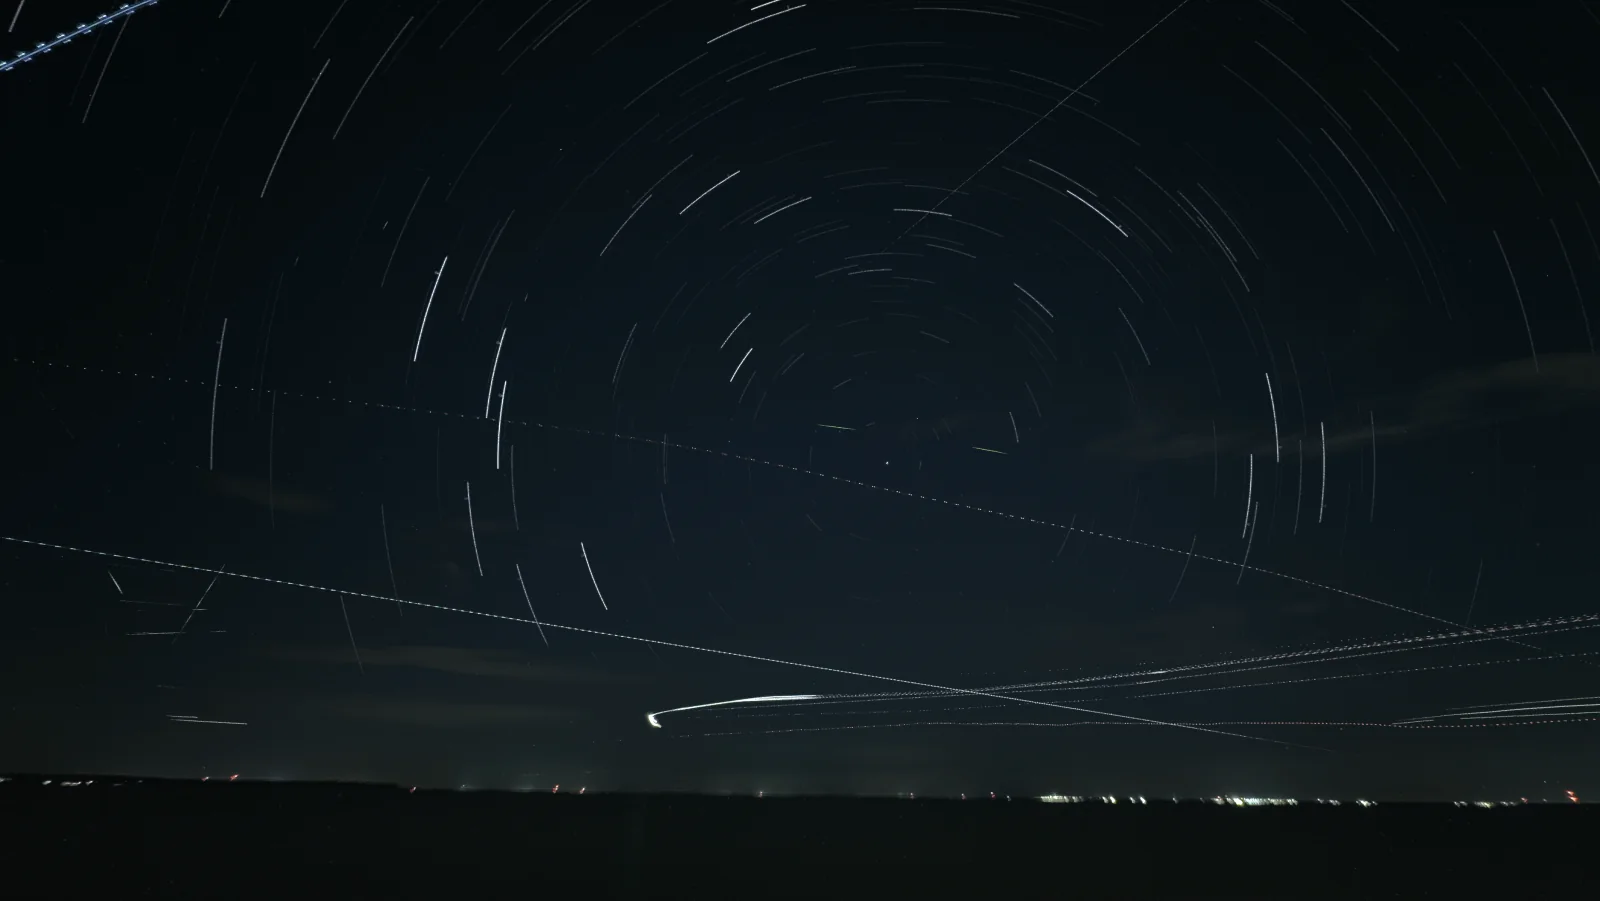
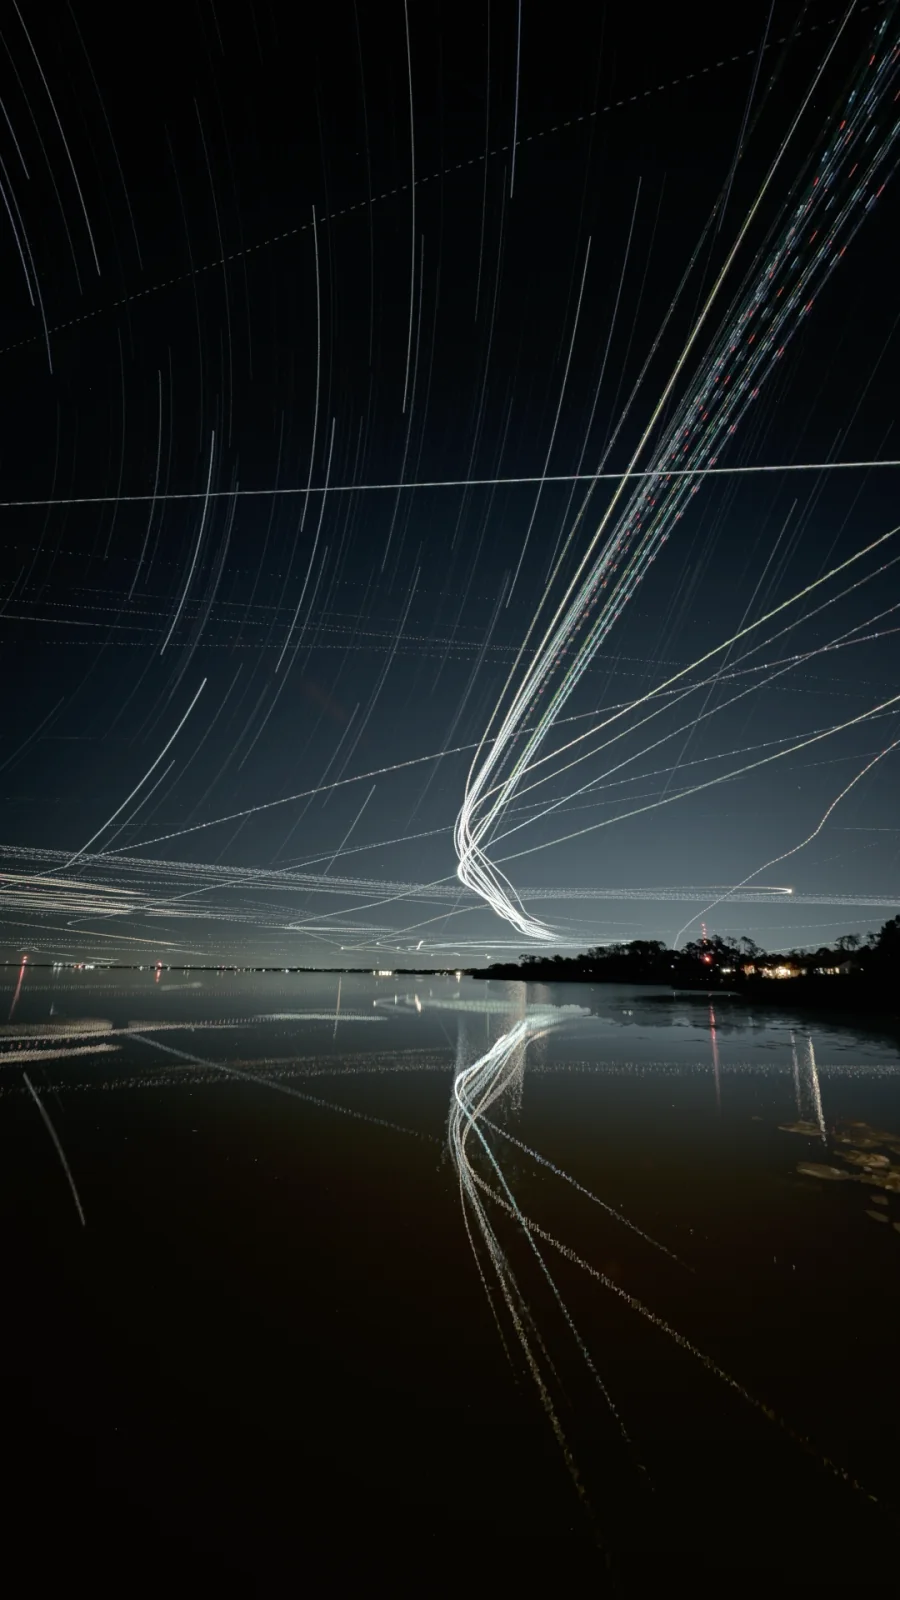
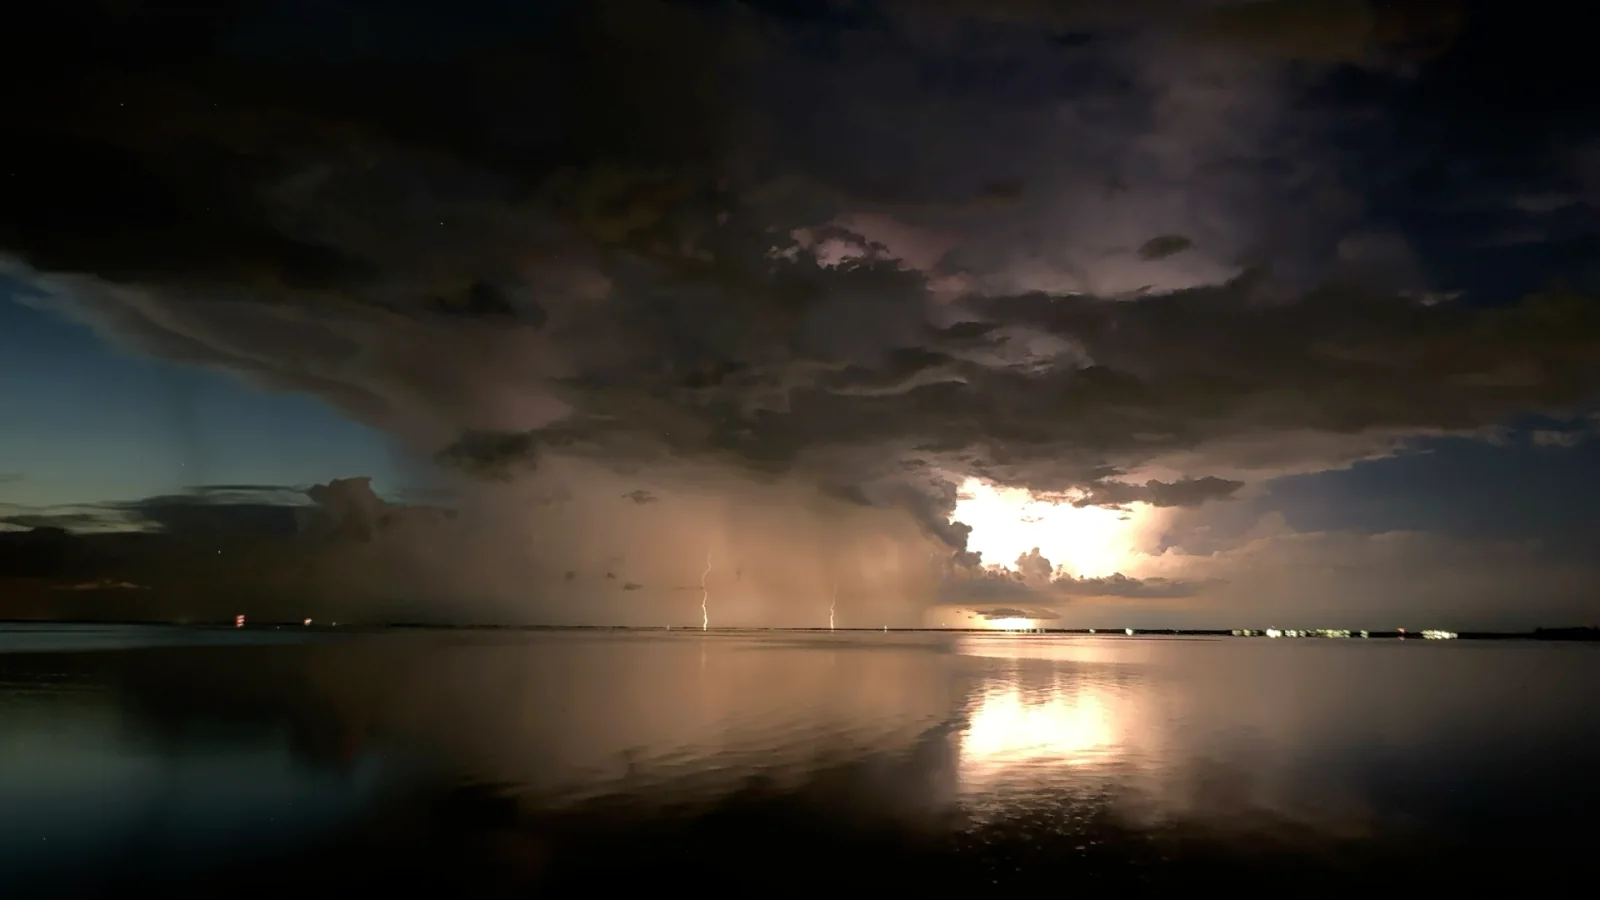
Each frame can be combined with the accumulated result as it arrives. The camera preview shows the developing composite during the recording, with controls for trail length, history, blend mode, masks, detection thresholds, glow, comet behavior, restore points, and selective erasing.
04 · Camera profiles
A profile stores the camera, exposure, interval, output, and live-processing choices for a repeatable shot. Use a built-in profile as a starting point, change the controls that matter, and save the result as a separate profile.
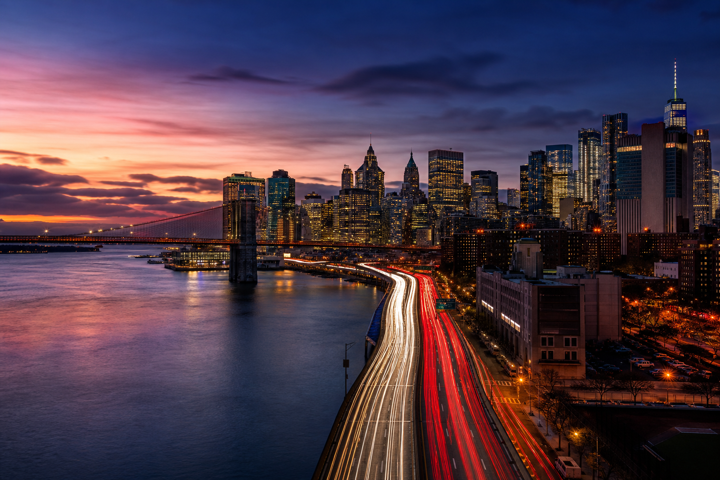
Automatic shutter, ISO, and white balance
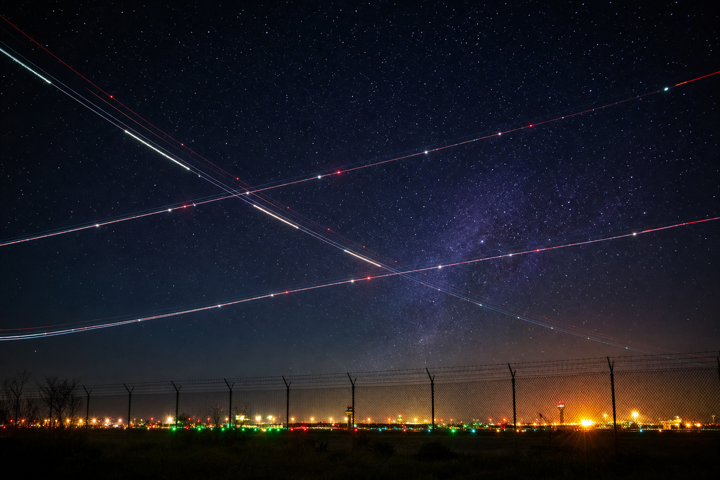
1/30 s shutter · ISO 1600 · 3800 K
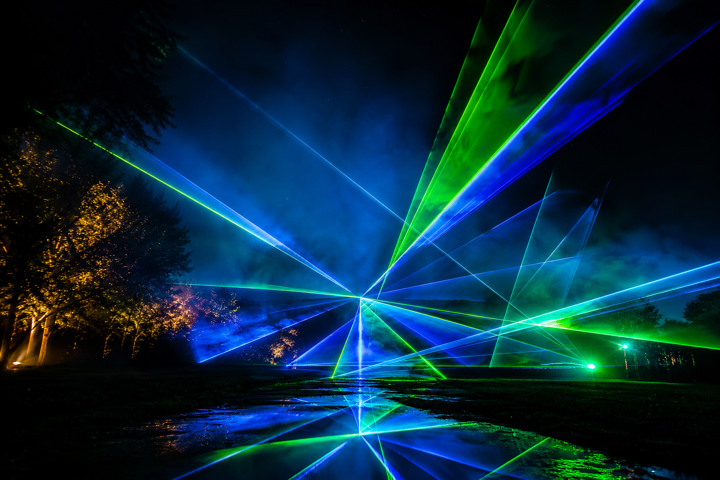
1/30 s shutter · ISO 1600
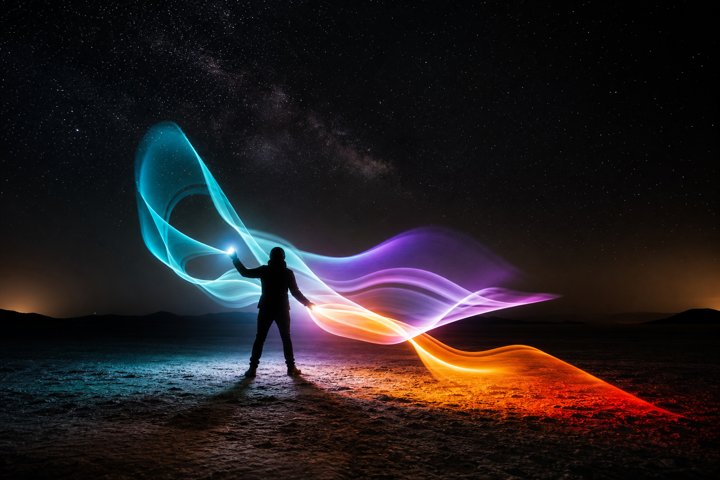
1/30 s shutter · ISO 1600
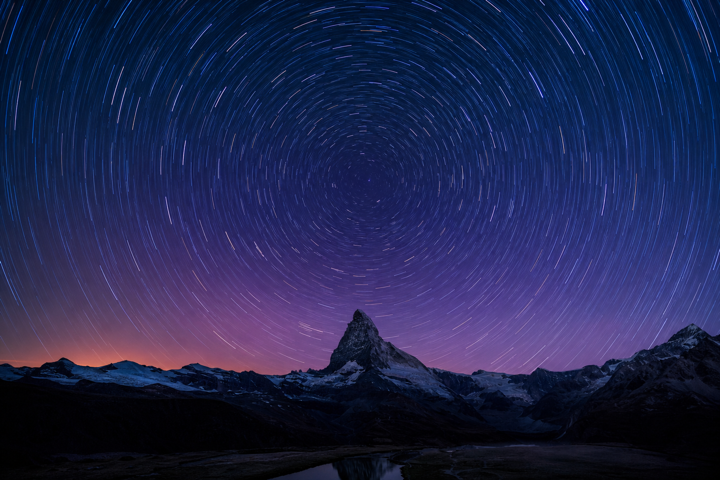
1 s shutter · ISO 800 · 1 s interval
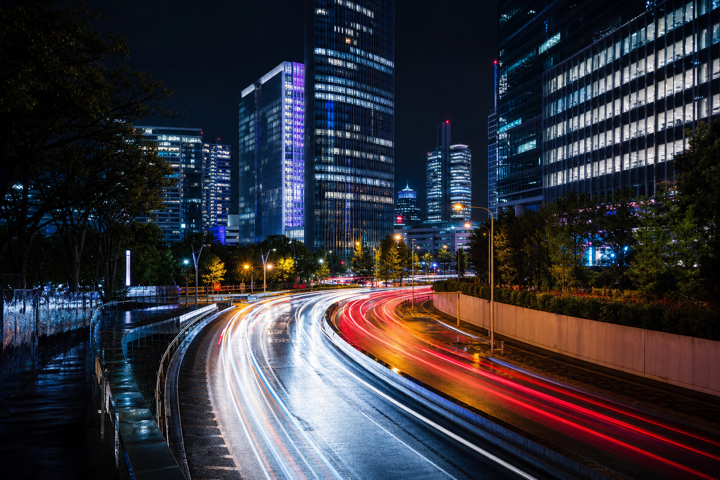
1/30 s shutter · ISO 1600 · Subject Motion blend
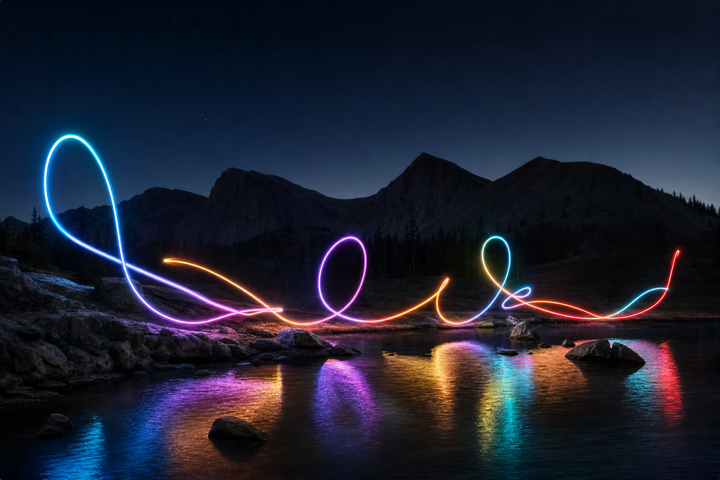
1/30 s shutter · ISO 1600
05 · Field planning
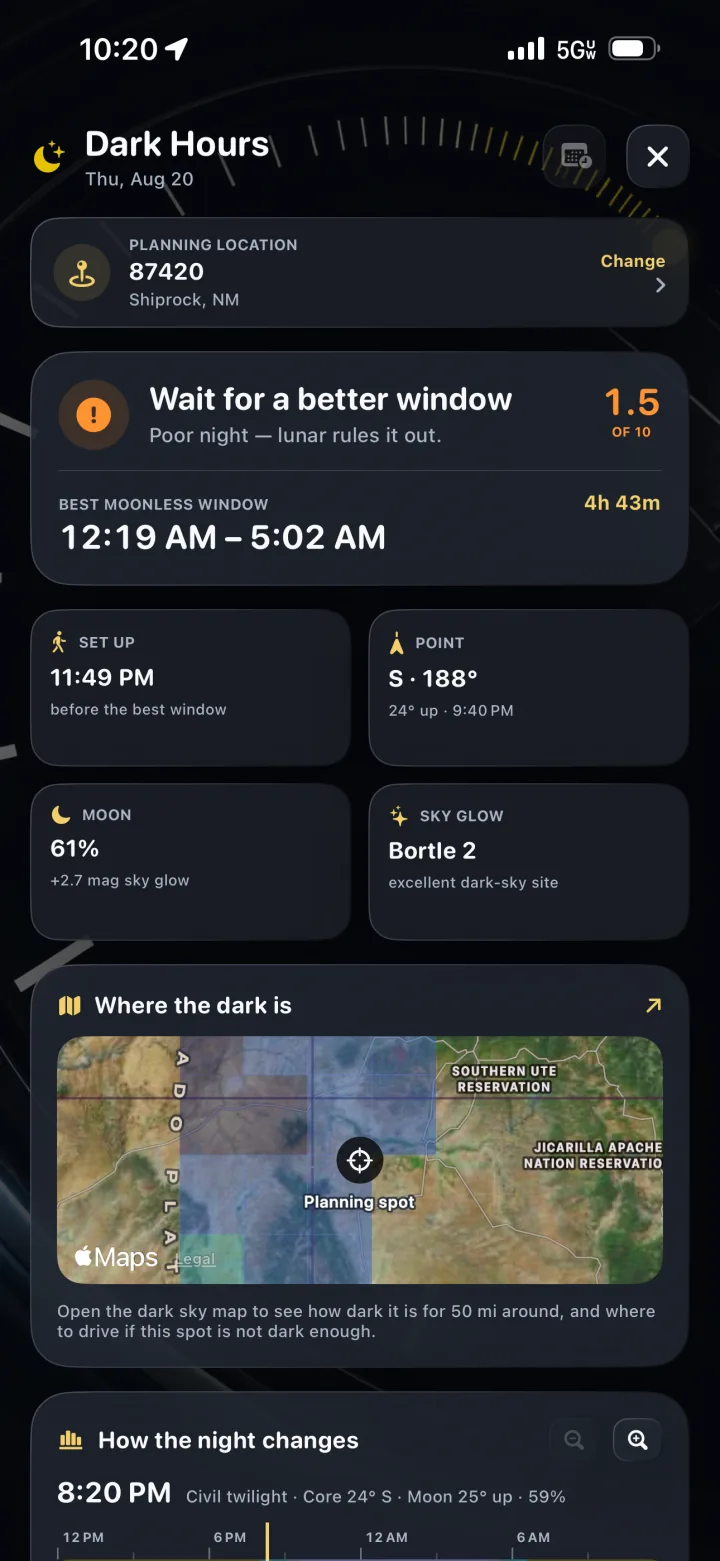
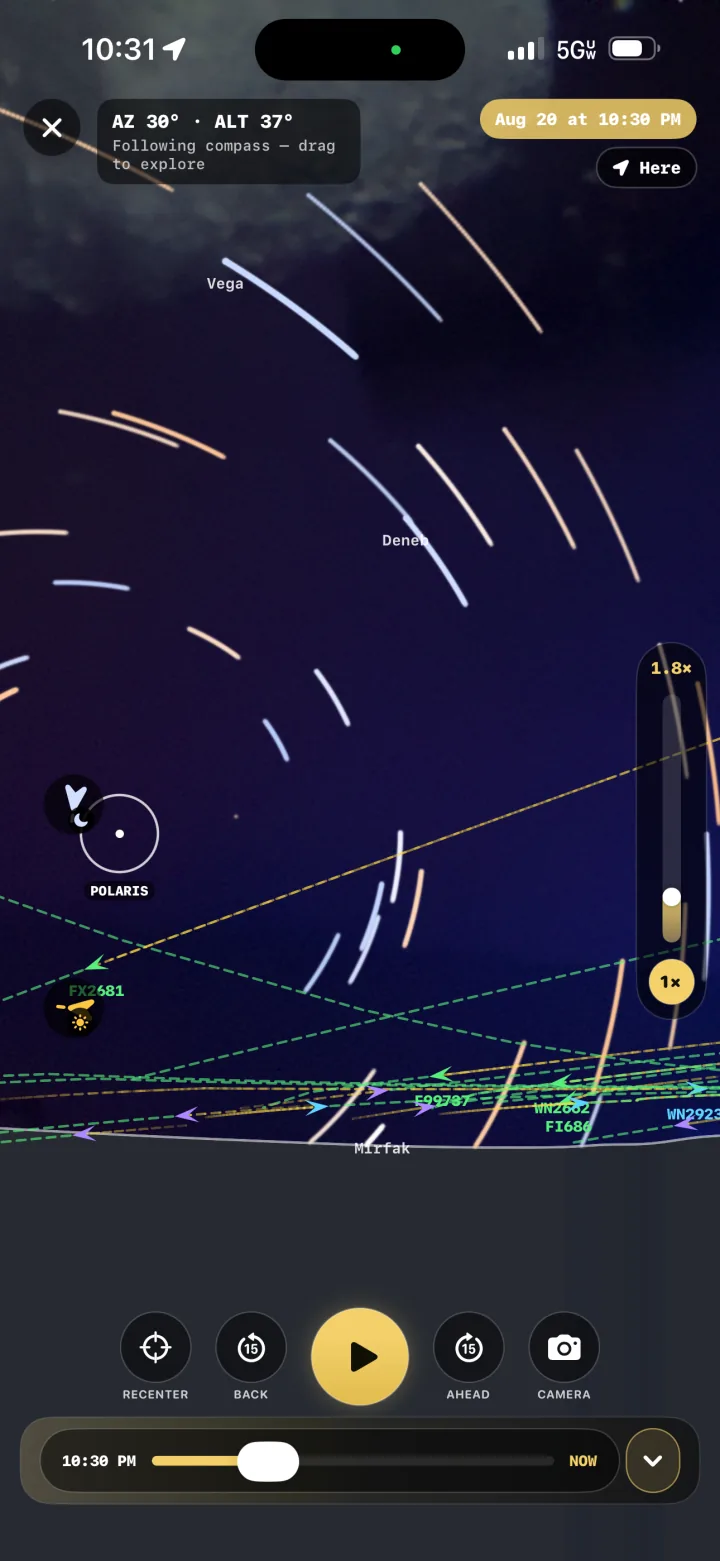
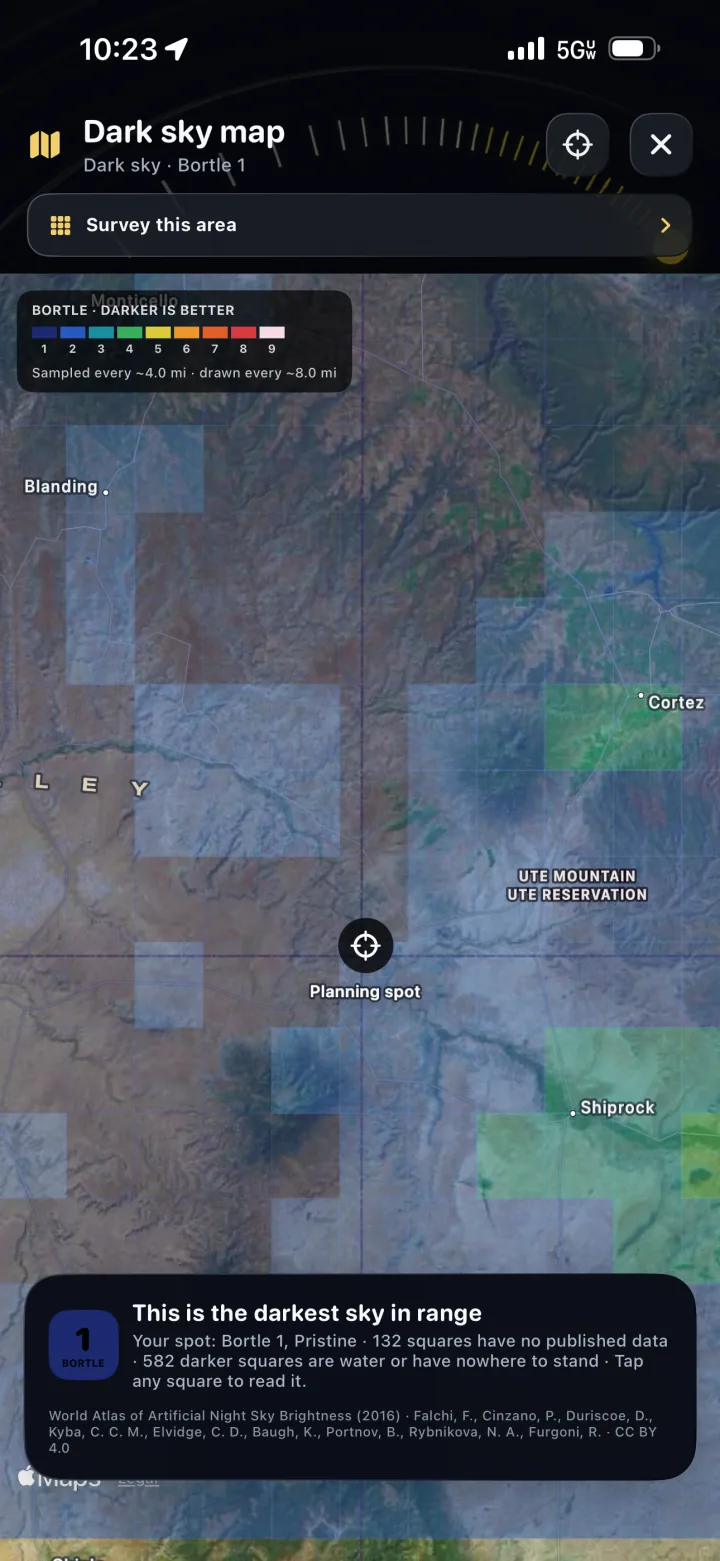
Select a location and date, inspect the night, find a darker sky, and preview where the subject will cross the camera frame. The planning tools answer concrete questions before the phone is mounted and the recording starts.
Place the Sun, Moon, stars, aircraft paths, and the selected camera field of view in the frame before setup.
Inspect true darkness, moonless windows, Milky Way visibility, weather, aurora, tides, and the strongest upcoming nights.
Read Bortle overlays at the selected location and compare nearby darker areas on the map.
Use stored airport departures and modeled runway climb paths to compose aircraft-trail recordings.
06 · Remote operation and trips
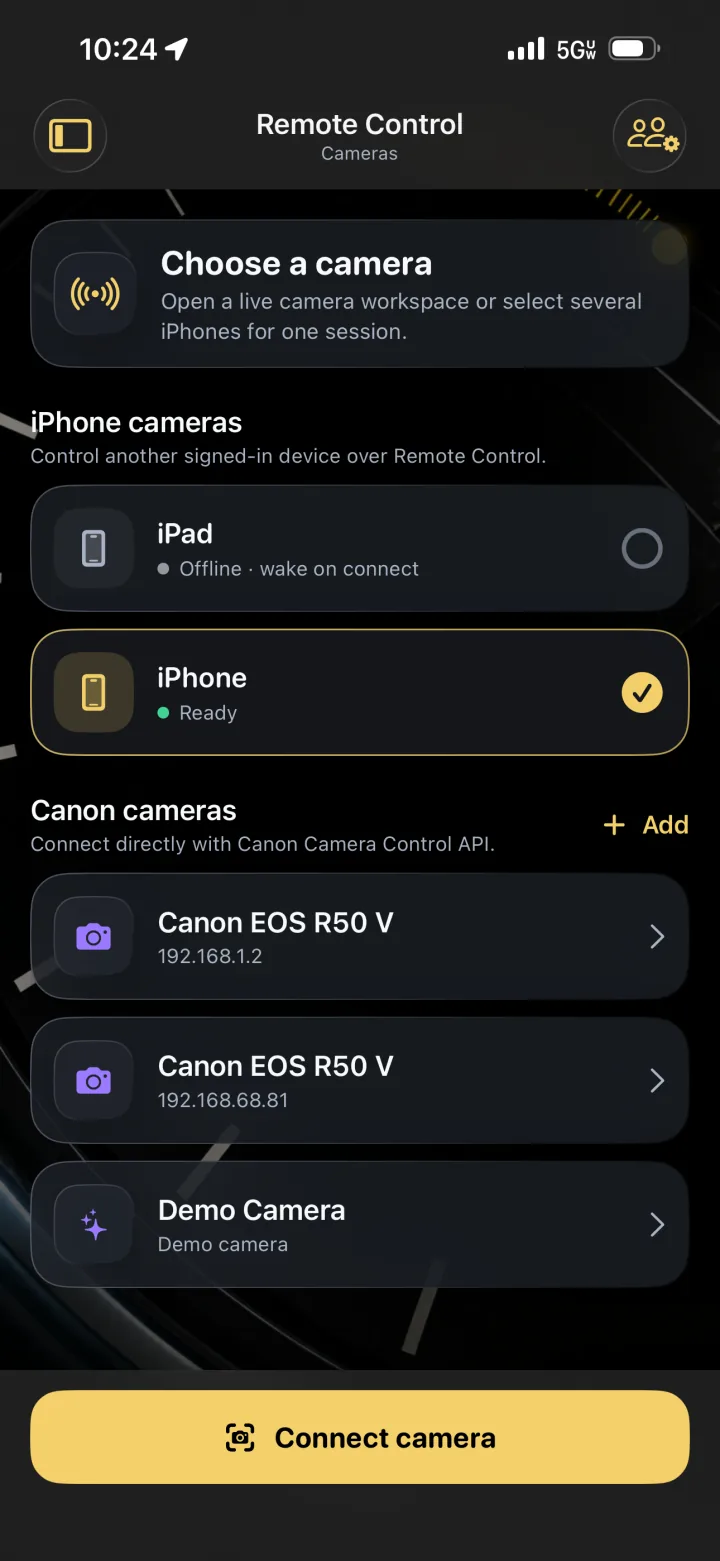
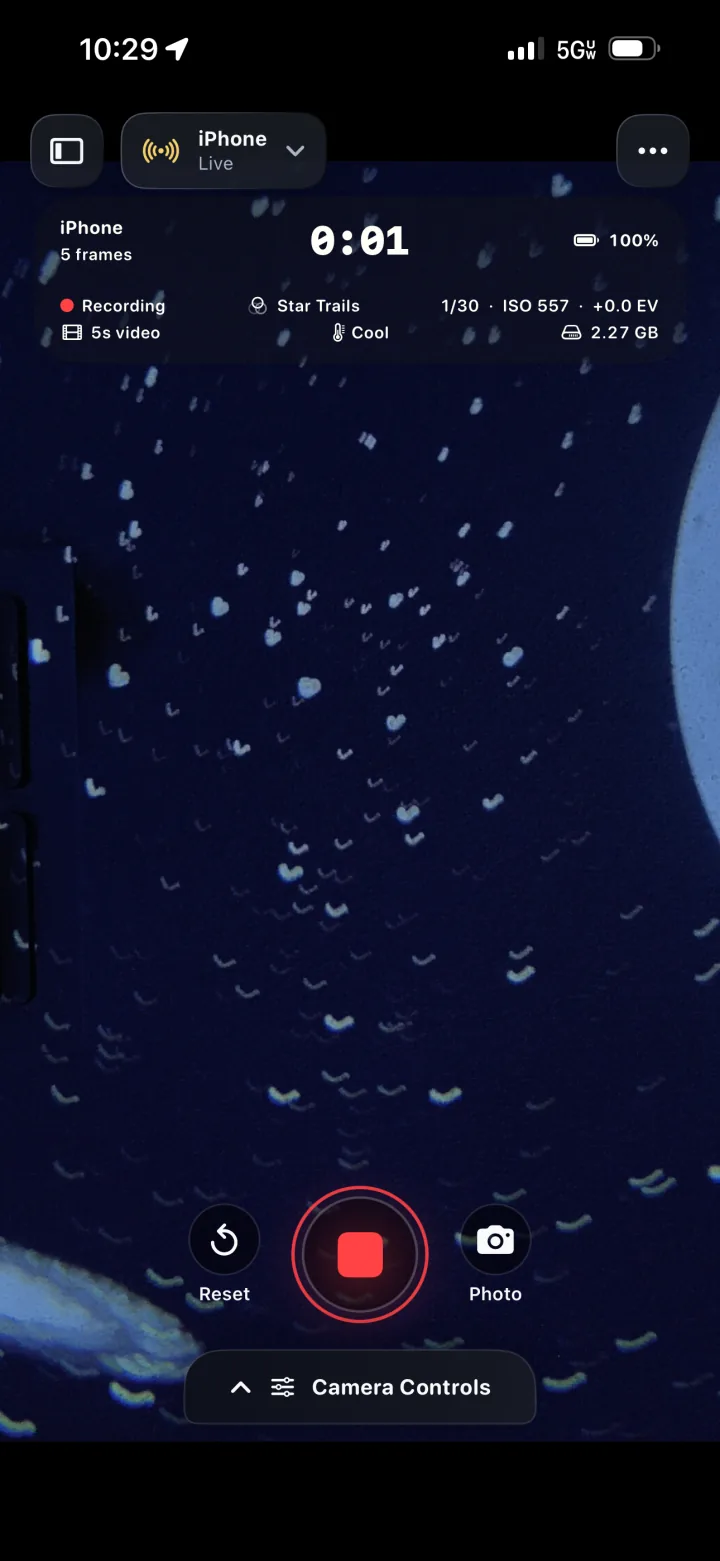
Another iPhone can connect to the camera, receive its live view, open the camera controls, start or stop the recording, reset the accumulated frame, and capture a still. Compatible Canon cameras can also appear in the remote camera selector.
Select a reachable TimeLapsed device and control its camera through the same grouped control system.
Connect a compatible Canon Camera Control API device from the remote camera selector.
Record by distance, elapsed time, both, or manual marks while preserving the route and trip chapters.
Start the trip on other reachable devices so each mounted phone records its own full-resolution angle.
07 · Additional capture systems
These are extensions of the timelapse camera—not a replacement for it. They use the same exposure, framing, effects, color, profile, and remote-control systems.
On supported iPhones, record two cameras into a side-by-side, stacked, or picture-in-picture composition with independent pane framing.
Switch the capture mode to 720p, 1080p, or 4K video with supported frame rates from 24 to 60 fps.
Real-time video can include synchronized microphone audio with a live level meter and adjustable gain.
Apply LUTs and detailed color controls to the live preview and the recording instead of waiting for a separate edit.
08 · Feature tour
Configure the timelapse camera, program Camera Actions, build composites as frames arrive, plan the sky and aircraft paths, and control a mounted camera remotely.
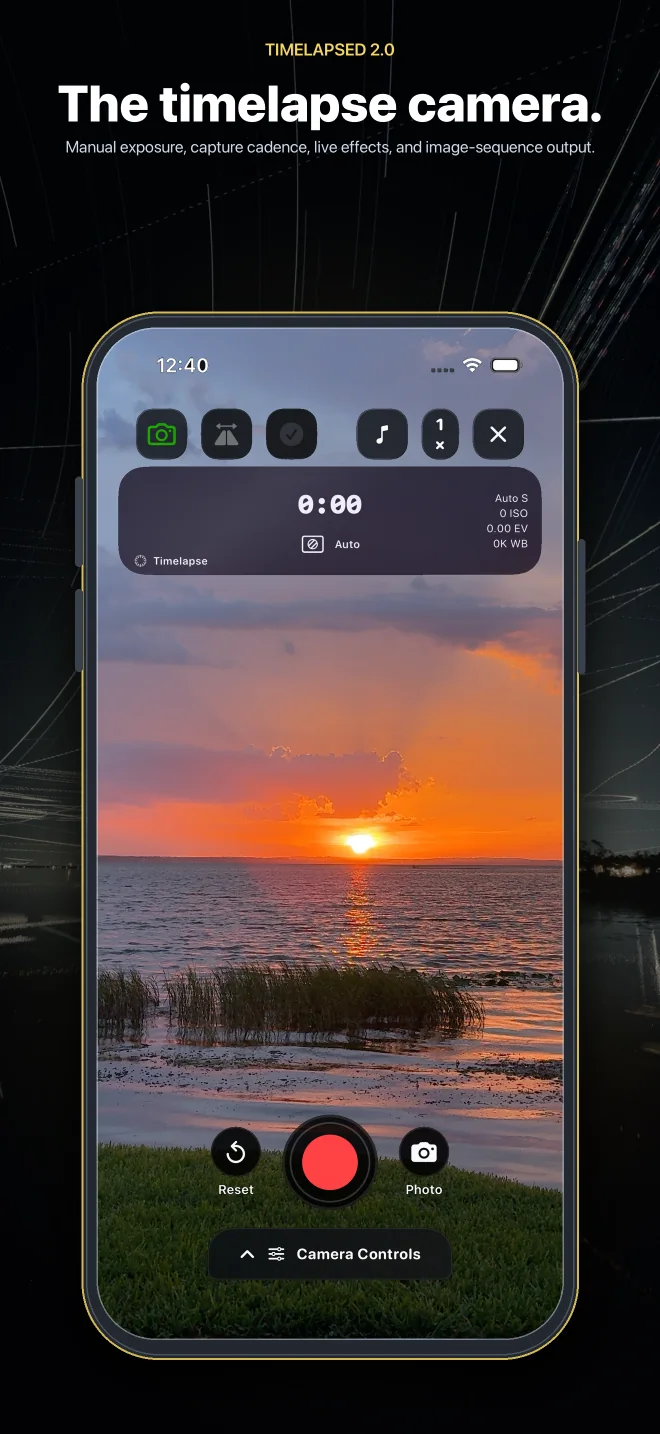
The timelapse camera
TimeLapsed 2.0
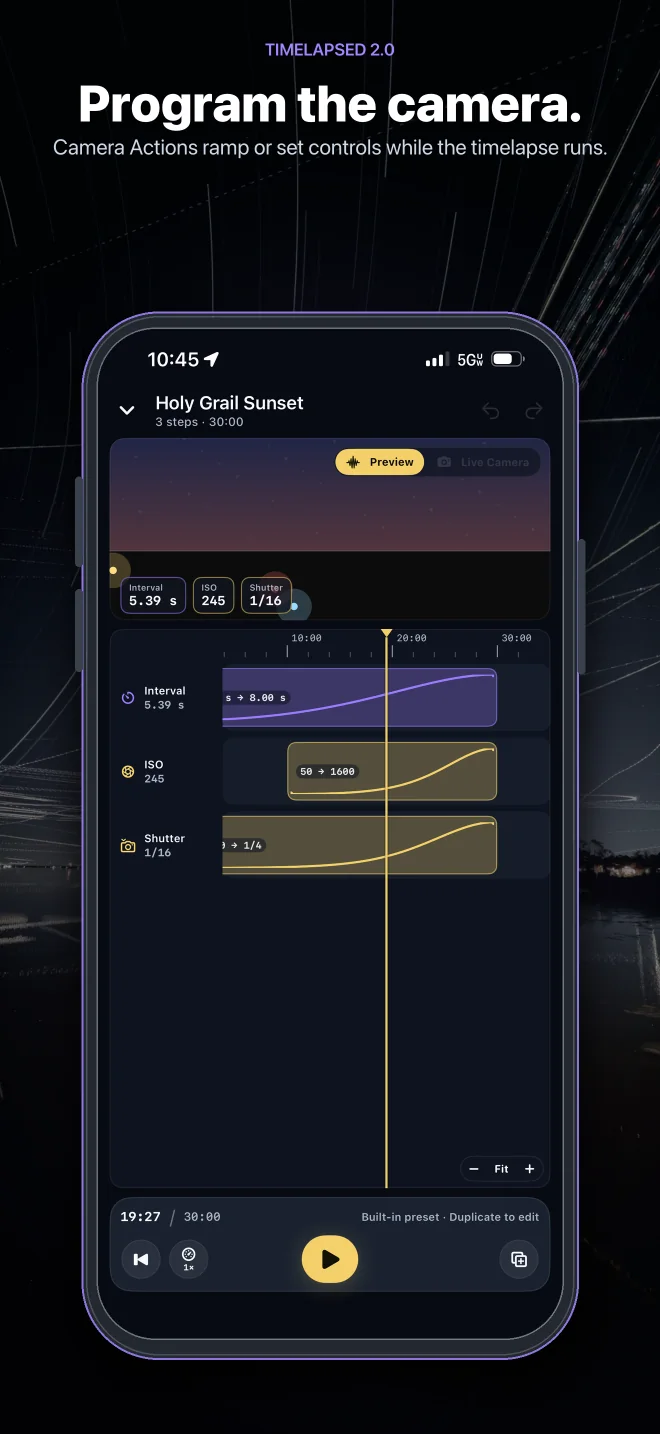
Camera Actions
TimeLapsed 2.0
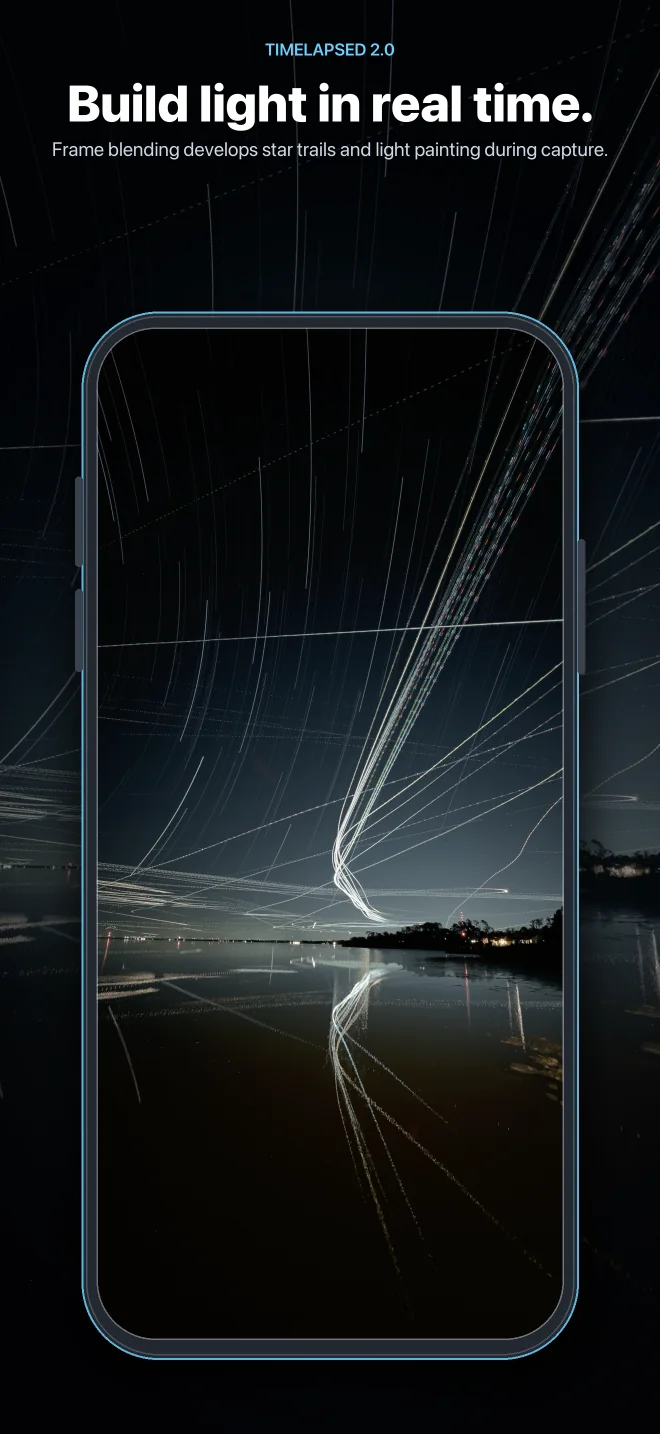
Live frame blending
TimeLapsed 2.0
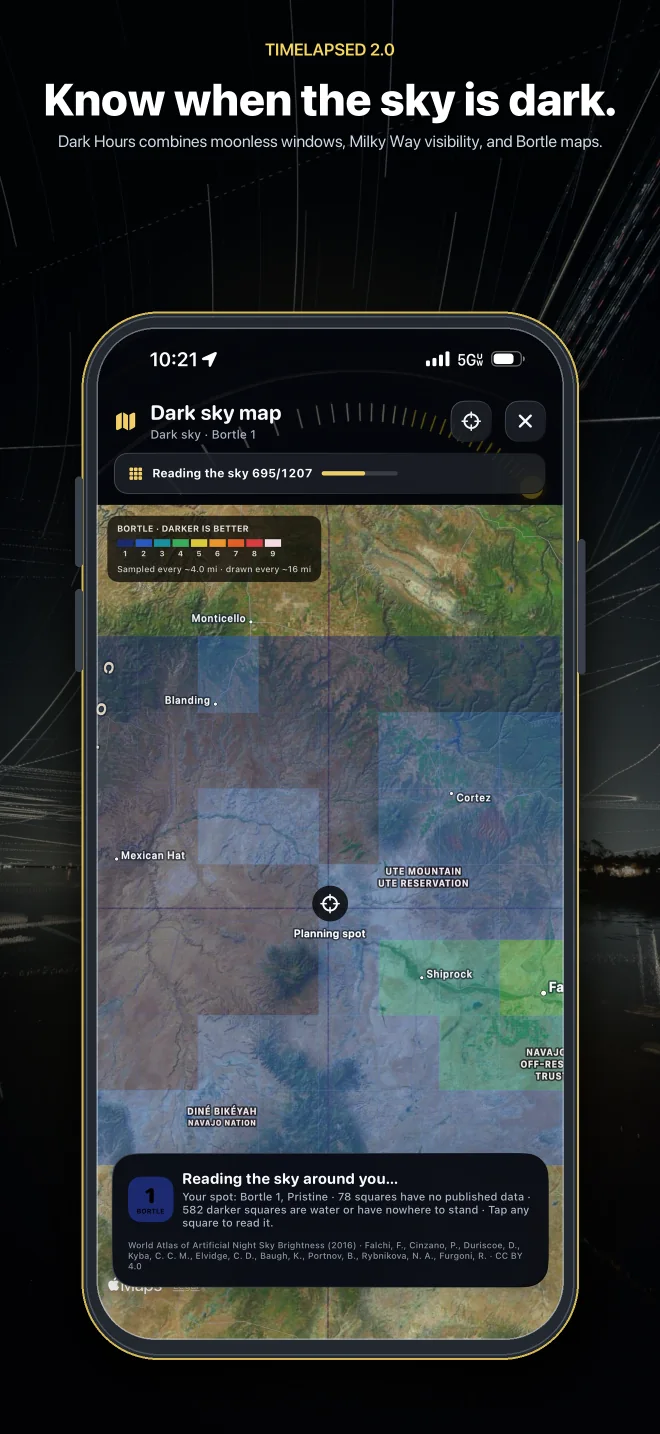
Dark Hours and Bortle maps
TimeLapsed 2.0
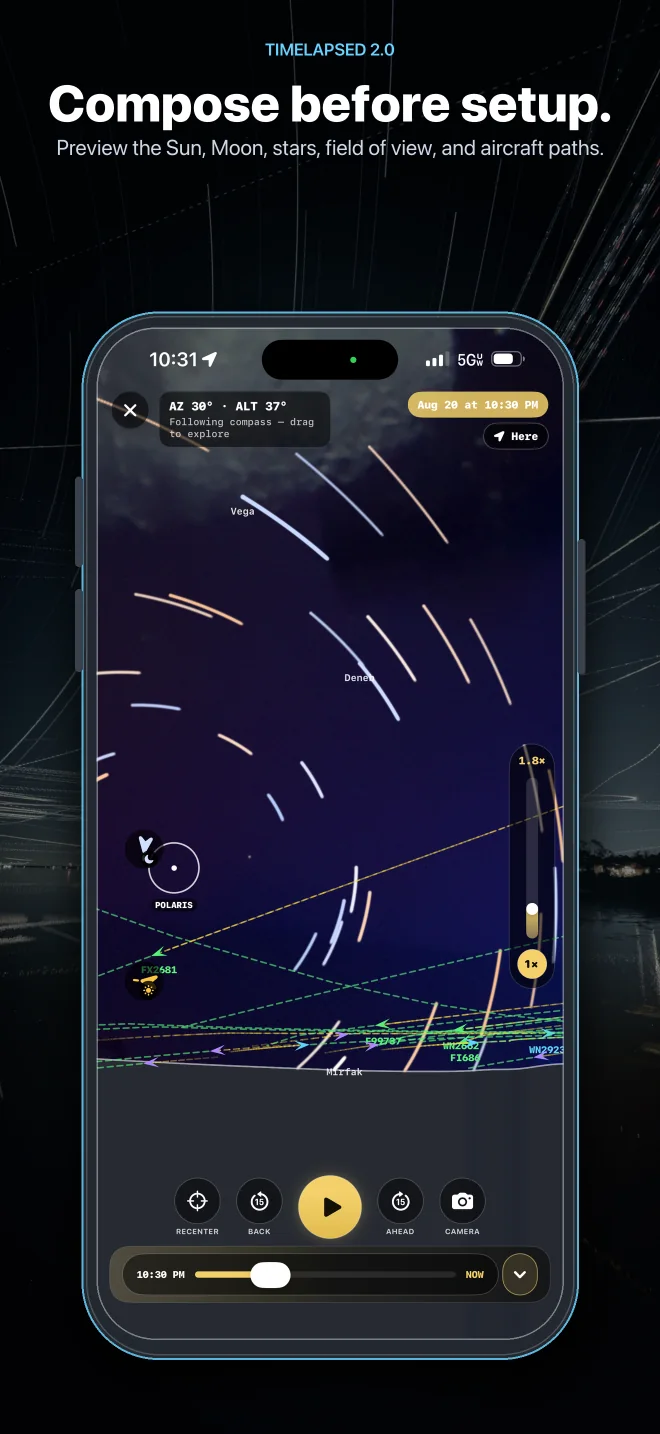
Sky Planner
TimeLapsed 2.0
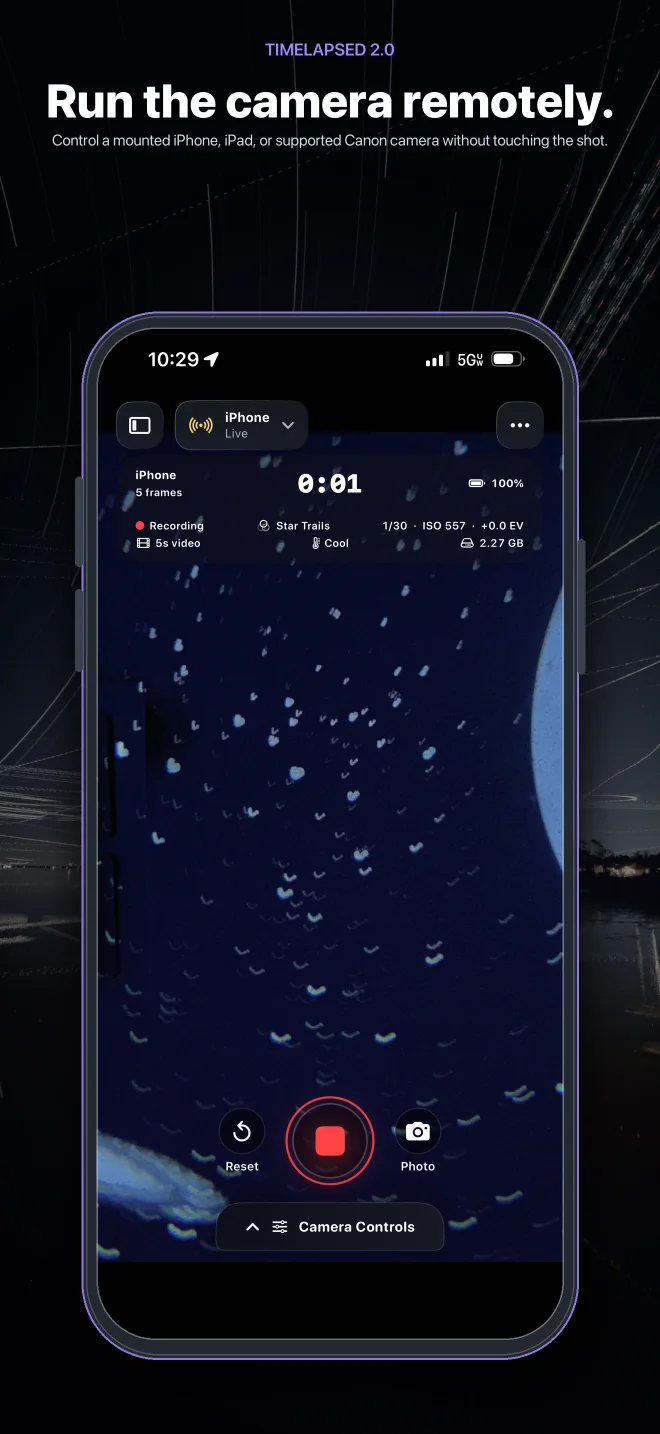
Remote camera control
TimeLapsed 2.0
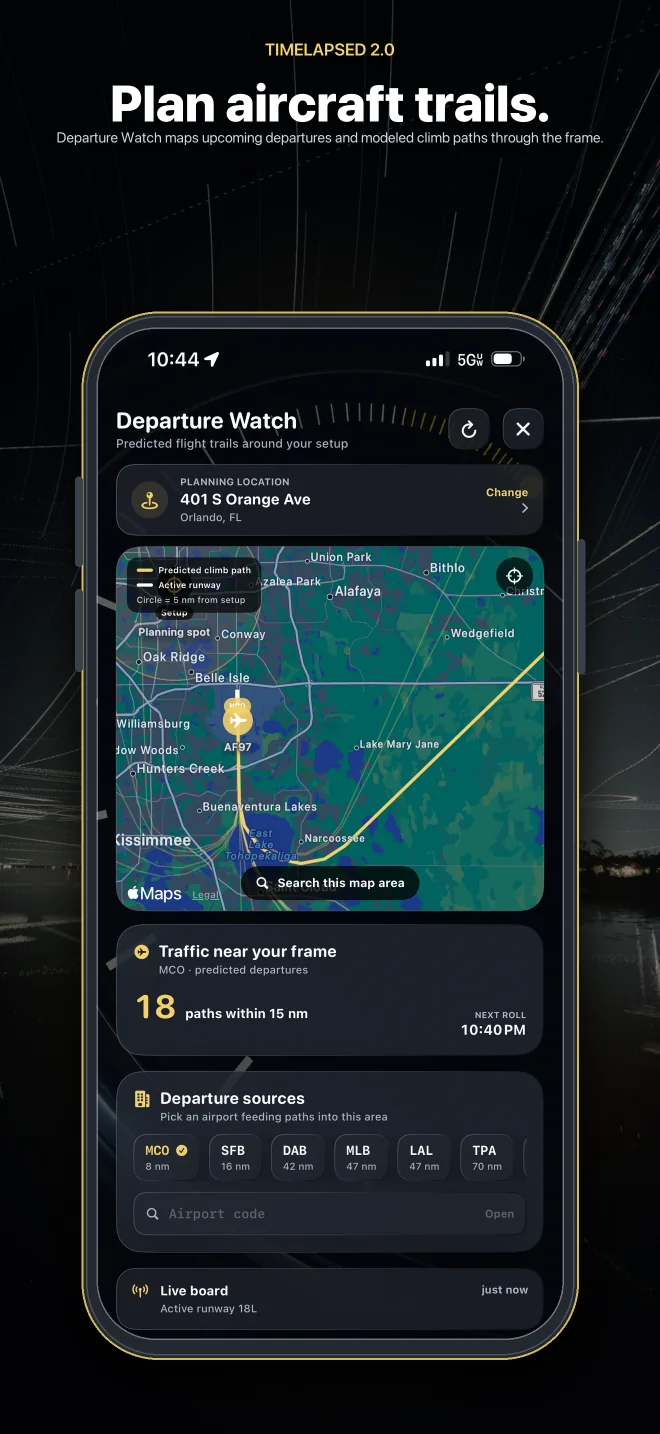
Departure Watch
TimeLapsed 2.0
TimeLapsed 2.0
The original TimeLapsed remains documented separately. TimeLapsed 2.0 carries its advanced timelapse camera forward with a new control system, Camera Actions, live effects, planning, profiles, and remote capture.